Want to make your shirt a size smaller without ruining it? This guide walks you through safe, easy, and effective ways to shrink shirts at home. Whether your shirt feels too loose or you’ve just changed sizes, knowing how to shrink a shirt properly can save you from tossing it away. With the right approach, you can get the fit you want while protecting the fabric and design.
Understanding Fabric Types Before You Start
Before trying to shrink a shirt, it’s important to understand what it’s made of. Fabric type directly affects how a shirt reacts to heat, moisture, and agitation — the key elements of most shrinking methods.
Cotton, for example, shrinks easily because it’s a natural fiber that absorbs water and reacts to heat. On the other hand, synthetic materials like polyester are designed to resist shrinkage and need higher temperatures or different techniques. Knowing your fabric helps you choose the right method and avoid damage.
If your shirt has a care label, check it. It will usually tell you the fiber content and whether the shirt is pre-shrunk — a process manufacturers use to minimize further shrinkage. A 100% cotton shirt without pre-shrinking is the easiest to work with, while blended or delicate fabrics need more care.
The Classic Hot Water Wash Method
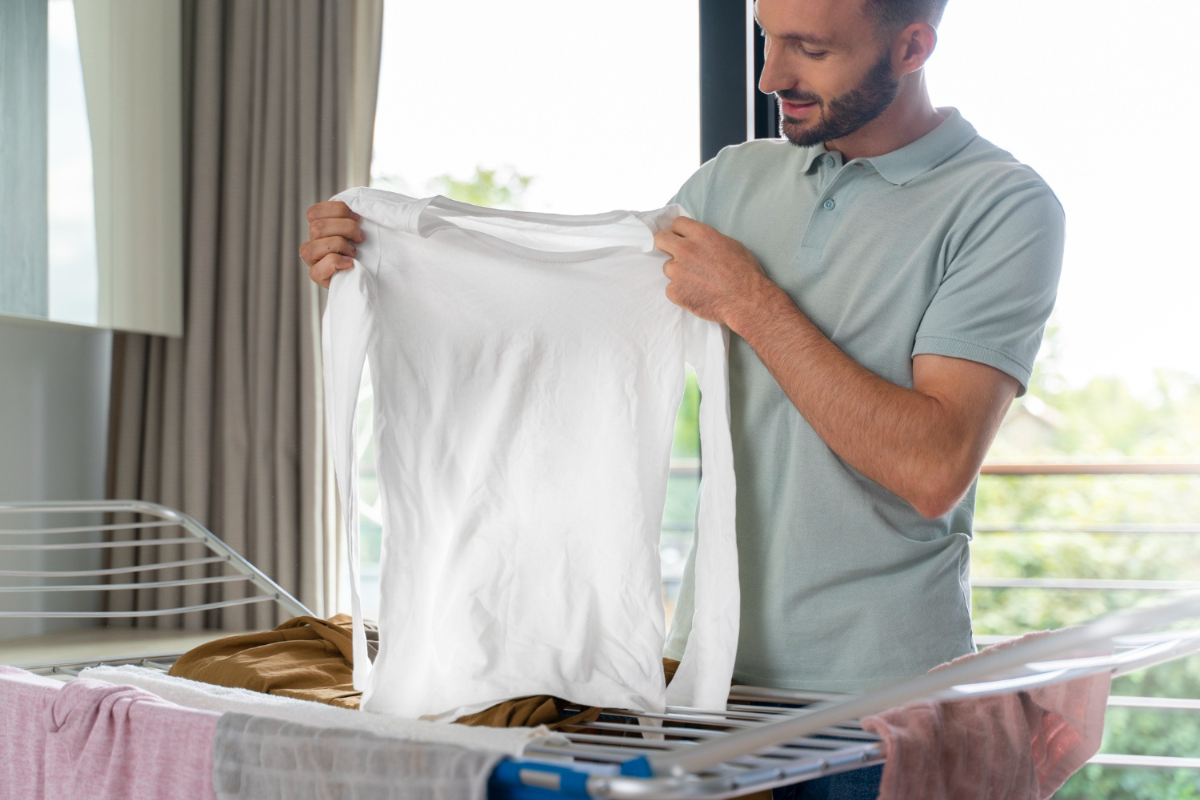
One of the most effective ways to shrink a shirt is by using hot water in the washing machine. Heat causes the fibers in the fabric to tighten, which results in shrinkage. When combined with agitation — the movement of the machine — this method can reduce the shirt’s size noticeably.
Step-by-Step Washing Machine Instructions
To try this method:
- Place your shirt in the washing machine by itself.
- Set the water temperature to the highest setting.
- Let the full wash cycle run — including rinse and spin.
- Once done, move the shirt straight into the dryer.
If you want more control, you can stop after the wash and check the shirt’s size before drying. This way, you can avoid over-shrinking.
What Settings to Use and Why?
The best settings are usually “hot wash” and “high spin.” These maximize heat and agitation, which help tighten the fabric. However, be careful if your shirt is delicate or made with mixed fibers. In that case, medium heat might be safer.
Avoid using cold water or gentle cycles if your main goal is to shrink. Those settings are better for preserving the current size, not changing it.
Using the Dryer for Controlled Shrinkage
Dryers are another tool for shrinking shirts — especially when used after a hot wash. The intense heat of the dryer continues the shrinking process started in the washer. For cotton shirts, this combo is usually enough to shrink them by one full size or more.
To control the shrinkage, monitor the drying time. The longer the shirt stays in high heat, the more it may shrink. If you want just a little change, remove it halfway through the cycle and let it air dry the rest of the way.
Also, keep in mind that dryers can affect fabric texture and print designs. If you’re working with a graphic tee or a shirt with embroidery, use a lower heat setting and shorter drying time to prevent damage.
Shrinking a Shirt Without a Dryer
If you don’t have a dryer or prefer to avoid one, there are still ways to shrink a shirt using just hot water and air-drying techniques. These methods may take a bit longer but are gentler on the fabric.
For example, soak your shirt in a basin of boiling hot water for 30 minutes. Then wring it out gently and lay it flat or hang it in a warm, sunny spot to dry. The natural drying process will still encourage some shrinkage, especially with cotton.
This approach is ideal for people who live in warm climates or want to shrink just slightly without using machines. While slower, it still gets results — and often with less wear and tear on the shirt.
How to Shrink Specific Shirt Materials?
Not all fabrics react the same way. The technique you use should match the type of shirt material you have. Here’s how to shrink common fabrics the right way.
Shrinking Cotton Shirts
Cotton is the easiest to shrink. It responds well to both heat and agitation. Use the hot wash and high-heat dryer method for strong results. Be cautious with repeated shrinking attempts — cotton can lose shape if overdone.
Tips for Polyester or Synthetic Blends
Polyester is heat-resistant by design. To shrink it, you’ll need very hot water and a longer dryer cycle. Still, the change will usually be minimal — often less than a full size. Use care to avoid melting or warping the material.
Blended fabrics (like 60% cotton/40% polyester) can shrink somewhat but require balanced treatment. Try medium heat settings and shorter drying times to avoid uneven results.
What to Know About Wool and Delicate Fabrics?
Wool is extremely sensitive and can shrink dramatically — sometimes too much. If you’re trying to shrink a wool shirt, it’s best to hand-wash it in lukewarm water and dry it flat. Never wring or machine-dry wool, as it may felt and become unusable.
Delicate fabrics like silk or rayon should not be heat-shrunk. These materials can be damaged easily and often need professional care.
Spot-Shrinking: Adjusting Just the Sleeves, Neck, or Length
Sometimes you don’t want the whole shirt to shrink — just certain parts. Maybe the sleeves feel too long or the neck is a bit loose. In that case, spot-shrinking is your solution.
You can dip only the part you want to shrink into hot water, then dry just that section with a blow dryer on high heat. Be sure to monitor it closely. This method allows for custom adjustments, but it does take practice to get right.
It’s also helpful if you’re working with shirts that have mixed materials or unique cuts and want a more tailored fit.
Avoiding Common Shrinking Mistakes
Many people end up ruining their shirts because they don’t take the time to do it right. One of the biggest mistakes is using too much heat too quickly. This can lead to uneven shrinking, damaged prints, or warped seams.
Another issue is repeating the shrinking process too often. Shirts have a limit — once the fibers are tightened, additional shrinking may not happen and can instead cause permanent damage.
Also, never skip reading the care label. It often tells you whether shrinking is safe or even possible. Ignoring this step is one of the fastest ways to ruin your favorite shirt.
Caring for Your Shirt After Shrinking
Once you’ve achieved the perfect fit, it’s important to maintain it. Wash the shirt in cold water and let it air dry to prevent further shrinkage. If you must use a dryer, opt for a low-heat setting and shorter drying time.
Storing your shirt folded rather than hung can also help keep its new shape intact. The more care you give post-shrink, the longer your shirt will last.
If it’s a favorite item, consider wearing it less often to extend its life — or buy a second one and alternate between them.
Conclusion
Shrinking a shirt at home is doable with the right technique. Whether you’re working with cotton, polyester, or a delicate blend, understanding the fabric is the first step. From using hot water and dryers to more controlled methods, each approach offers a way to adjust your shirt to a better fit. Just remember to start slow, follow your fabric’s needs, and always check the care label before you begin. With a little effort, you can confidently resize your shirt and make it work for your wardrobe.
FAQs
1. Can all shirts be shrunk using heat?
Not all shirts respond well to heat. Cotton shrinks easily, but polyester and other synthetics are more resistant. Always check the care label.
2. How many sizes can I shrink a shirt down?
Most shirts can shrink up to one full size, especially cotton. More than that risks damaging the shape and structure.
3. Will my shirt stretch back out after shrinking?
In some cases, especially with cotton, shirts may stretch a bit with wear. However, repeated shrinking and washing may reduce elasticity.
4. What’s the safest method for shrinking a graphic tee?
Use a hot wash but air dry or use low heat in the dryer. This helps shrink the shirt without damaging the print.
My name is Mustafa, and I have been blogging for over 5 years. I am passionate about sharing complete, accurate, and helpful information with my readers. Along with managing content on The Matcha Read, I also contribute blog posts to premium websites. My goal is to provide valuable insights in a clear and easy-to-understand way, so every reader walks away with useful knowledge.