Learning how to draw a cat can be both fun and relaxing. Whether you’re a beginner or someone returning to drawing after a break, sketching a cat is a great way to improve your art skills. Cats are full of character, and capturing their soft fur, curious eyes, and graceful poses on paper is a rewarding experience.
In this article, you’ll learn how to draw a cat step by step, using simple shapes and easy methods. Each part of the guide focuses on helping you understand how a cat’s body works, how to break it down into basic forms, and how to bring it to life with facial features, texture, and color.
Understanding the Basic Shapes of a Cat
Why Shapes Are Important in Drawing?
Before you begin drawing a cat, it’s important to understand the shapes that make up its body. Drawing isn’t just about copying an image — it’s about seeing structure and form. When you use basic shapes like circles and ovals, you lay the foundation for your drawing.
This approach helps you stay proportionate and consistent. By learning how to break down a cat into simple shapes, you avoid guesswork. You also make your sketch easier to adjust and improve.
Common Shapes Used in Cat Sketches
Most cats can be drawn using a combination of circles, ovals, and triangles. A circle forms the head. A larger oval can be used for the body. Triangles are perfect for the ears. You can sketch lines for the spine, legs, and tail.
These shapes guide the rest of your work. They’re like the skeleton of your drawing. Once they’re in place, it becomes easier to add the details, facial features, and textures that make your cat come to life.
Starting with a Simple Cat Sketch
Drawing the Head and Body Outline
Start by drawing a small circle for the head. Leave space below it for the body. Use a slightly tilted oval under the head to create the shape of the cat’s torso. These two parts should be connected lightly with a line for the neck.
Keep your lines soft at this stage. Don’t worry about perfect shapes. The goal is to place everything in the right position. You’ll refine it later.
Placing the Ears, Legs, and Tail
Next, sketch two triangle shapes on top of the head for ears. Most cats have upright or slightly outward-tilted ears. For the legs, use straight or gently curved lines coming down from the body. Add small ovals for the paws at the base.
The tail can be drawn using a smooth, curving line. Some tails are fluffy and upright; others are long and low. Think about your cat’s pose and draw accordingly.
Adding Facial Features and Expression
Drawing the Eyes, Nose, and Mouth
Eyes are a big part of any cat drawing. Place two almond shapes on the face, spaced evenly from the center. Cat eyes are usually large and expressive, so make them a little bigger than human eyes.
Draw a small upside-down triangle for the nose just below the eyes. From the bottom of the nose, sketch a short line down, then curve out to form the mouth. This gives your cat a gentle and friendly look.
Positioning Whiskers and Eyebrows
Whiskers help add life to your cat drawing. Extend a few long, curved lines from each side of the face, near the nose and cheeks. You can also add tiny lines above the eyes to hint at eyebrows. These subtle features help show emotion in your drawing.
Drawing a Cat in Different Poses
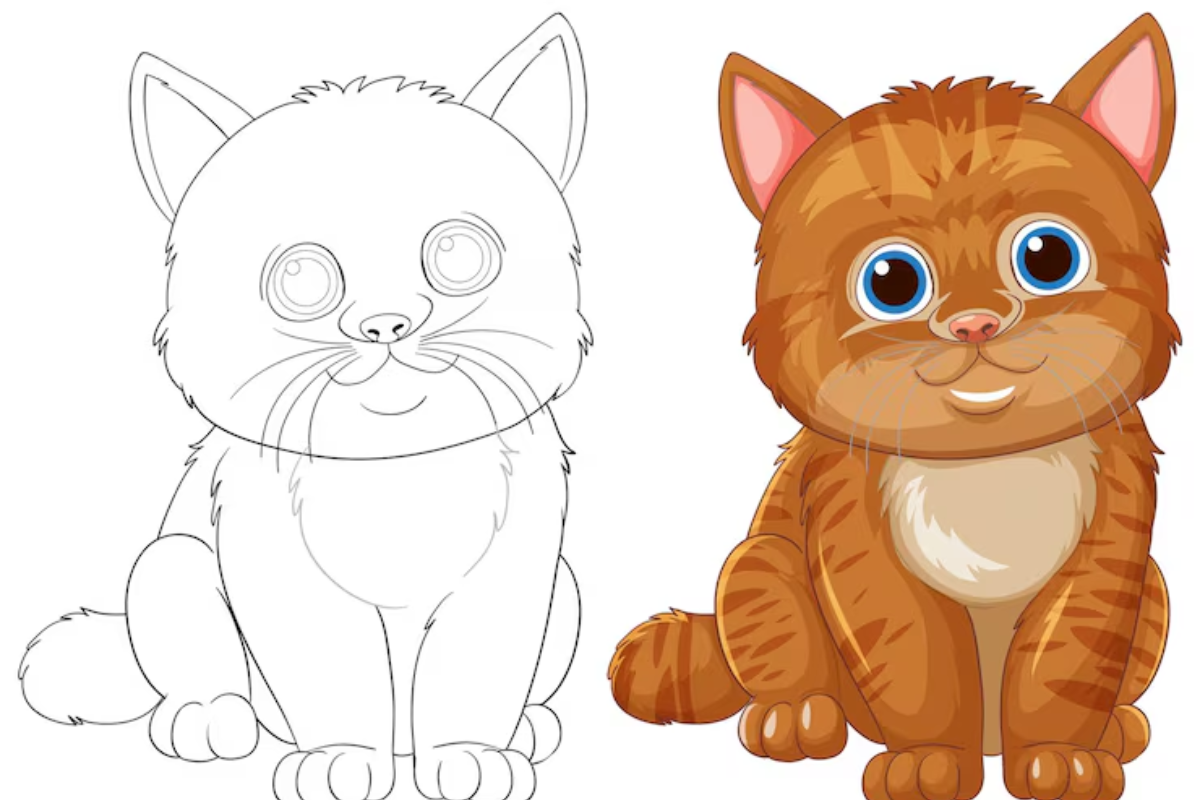
Sitting Cat
A sitting cat is one of the easiest poses for beginners. The body forms an oval, with legs tucked underneath. The head stays upright, and the tail curls around the side. It’s a calm and cute position that’s perfect for simple drawings.
Use light curves to suggest where the legs fold under the body. This keeps the pose natural.
Walking or Stretching Cat
A walking or stretching cat is a bit more advanced but gives your drawing more movement. The spine forms a smooth S-curve. The front and back legs should be shown mid-step. For stretching, the front legs go forward while the back legs stay extended.
These poses capture the cat’s grace and flexibility. Focus on the line of action — a single flowing line that shows the overall movement of the cat.
Creating Texture with Fur and Details
Using Lines for a Fluffy or Sleek Look
Cat fur can be fluffy, short, or long. You can show this using small lines. For a fluffy cat, use short, zigzag strokes along the body. For a sleek cat, keep the lines smoother and closer to the body.
Draw in the direction the fur grows. Around the cheeks, chest, and tail, your lines can be a little longer. This gives the drawing a more realistic look without needing too much detail.
Shading to Show Light and Depth
Shading adds volume and makes your drawing pop. Decide where the light is coming from. Then, lightly shade areas like under the chin, around the belly, and behind the legs.
Use soft pencil strokes or gentle smudging. Don’t overdo it. Even light shading can help your cat look more three-dimensional.
Coloring Your Cat Drawing
Choosing the Right Colors
There are many types of cats, each with unique colors. Some are orange, black, white, grey, or striped. Pick a color based on the type of cat you want to draw — a tabby, a Siamese, or even your own pet.
You can use colored pencils, markers, or digital tools. Whatever you choose, make sure the colors reflect your cat’s personality.
Simple Coloring Techniques for Beginners
Start with the lightest color and layer darker shades slowly. For tabby cats, draw light stripes first, then blend with color. If you’re using pencils, soft strokes work best.
Add darker tones around the ears, under the tail, and near the paws. This creates contrast and helps define the shape better.
Common Mistakes to Avoid When Drawing Cats
One common mistake is rushing into details too early. Always begin with basic shapes. It’s also easy to place features like eyes or ears too high or low. Take time to check alignment.
Avoid pressing too hard with your pencil. Drawing lightly at first gives you room to fix mistakes. Many beginners also forget to add emotion or movement. Don’t be afraid to give your cat some personality.
Practice Tips to Improve Your Cat Drawings
Drawing takes time and practice. Try sketching cats from photos. Focus on one part at a time — maybe just the eyes or the tail. Keep a small sketchbook and draw cats in different poses whenever you can.
You’ll improve faster if you keep practicing regularly. Don’t worry about making each drawing perfect. Every sketch helps you get better.
Conclusion
Now that you’ve learned how to draw a cat from basic shapes to finished artwork, you have the tools to keep going. Start simple, use gentle lines, and slowly build up your drawing with details, texture, and color. Whether your cat is sitting calmly or stretching with grace, the key is practice and patience.
Drawing a cat isn’t about making it perfect — it’s about enjoying the process. With time and effort, you’ll find your own style and confidence. So grab your pencil, and start sketching today.
FAQs
1. What is the easiest way to start drawing a cat?
The easiest way is to begin with simple shapes — a circle for the head, an oval for the body, and triangles for the ears. This helps you build a good foundation.
2. How can I make my cat drawing look more realistic?
Focus on the eyes, fur texture, and shading. Add small details like whiskers and natural fur lines. Practice from real photos to see how cats move and sit.
3. What tools do I need to draw a cat as a beginner?
You just need a pencil, eraser, and paper. You can add colored pencils or pens if you want to add color later.
4. Can I draw a cat without any prior drawing experience?
Yes, you can! This guide is beginner-friendly. With simple steps and regular practice, anyone can learn how to draw a cat.
My name is Mustafa, and I have been blogging for over 5 years. I am passionate about sharing complete, accurate, and helpful information with my readers. Along with managing content on The Matcha Read, I also contribute blog posts to premium websites. My goal is to provide valuable insights in a clear and easy-to-understand way, so every reader walks away with useful knowledge.