Acrylic nails have become one of the most popular ways to enjoy long, polished, and glamorous hands without waiting for natural growth. They offer strength, shine, and a flawless finish that regular manicures often can’t match. Yet, there comes a time when every set of acrylic nails needs to come off—whether because of new growth, damage, or the desire for a fresh start.
Many people rush into the process, tugging or peeling the acrylics off, which often leaves their natural nails weak, thin, and painful. That’s why understanding how to remove acrylic nails safely is essential. With the right knowledge, tools, and patience, you can take them off at home without harming your natural nails. This guide will walk you through the process, highlight common mistakes to avoid, and share aftercare tips to keep your nails strong and healthy.
Understanding Acrylic Nails and Why Removal Matters
Acrylic nails are created using a mix of liquid monomer and powdered polymer. When blended, this material forms a hard, protective layer that sits on top of your natural nails. Once applied and shaped, acrylics are filed smooth and often finished with polish or gel coatings. The result is a durable nail extension that can last weeks with proper care.
The challenge comes during removal. Acrylic nails are bonded tightly to the natural nail surface. If you try to pry or peel them off without softening the bond, you risk stripping away the top layers of your real nails. This doesn’t just weaken them temporarily; it can leave lasting ridges, sensitivity, and breakage.
Proper removal ensures that the acrylic layer dissolves or loosens without pulling away your natural nail. This careful approach helps preserve nail health, prevents pain, and sets the foundation for smooth, strong nails once the acrylics are gone.
Preparing Your Nails and Tools Before Removal
Before you begin, preparation is key. A rushed approach often leads to mistakes, so it’s worth taking a few minutes to set up your space and gather what you need.
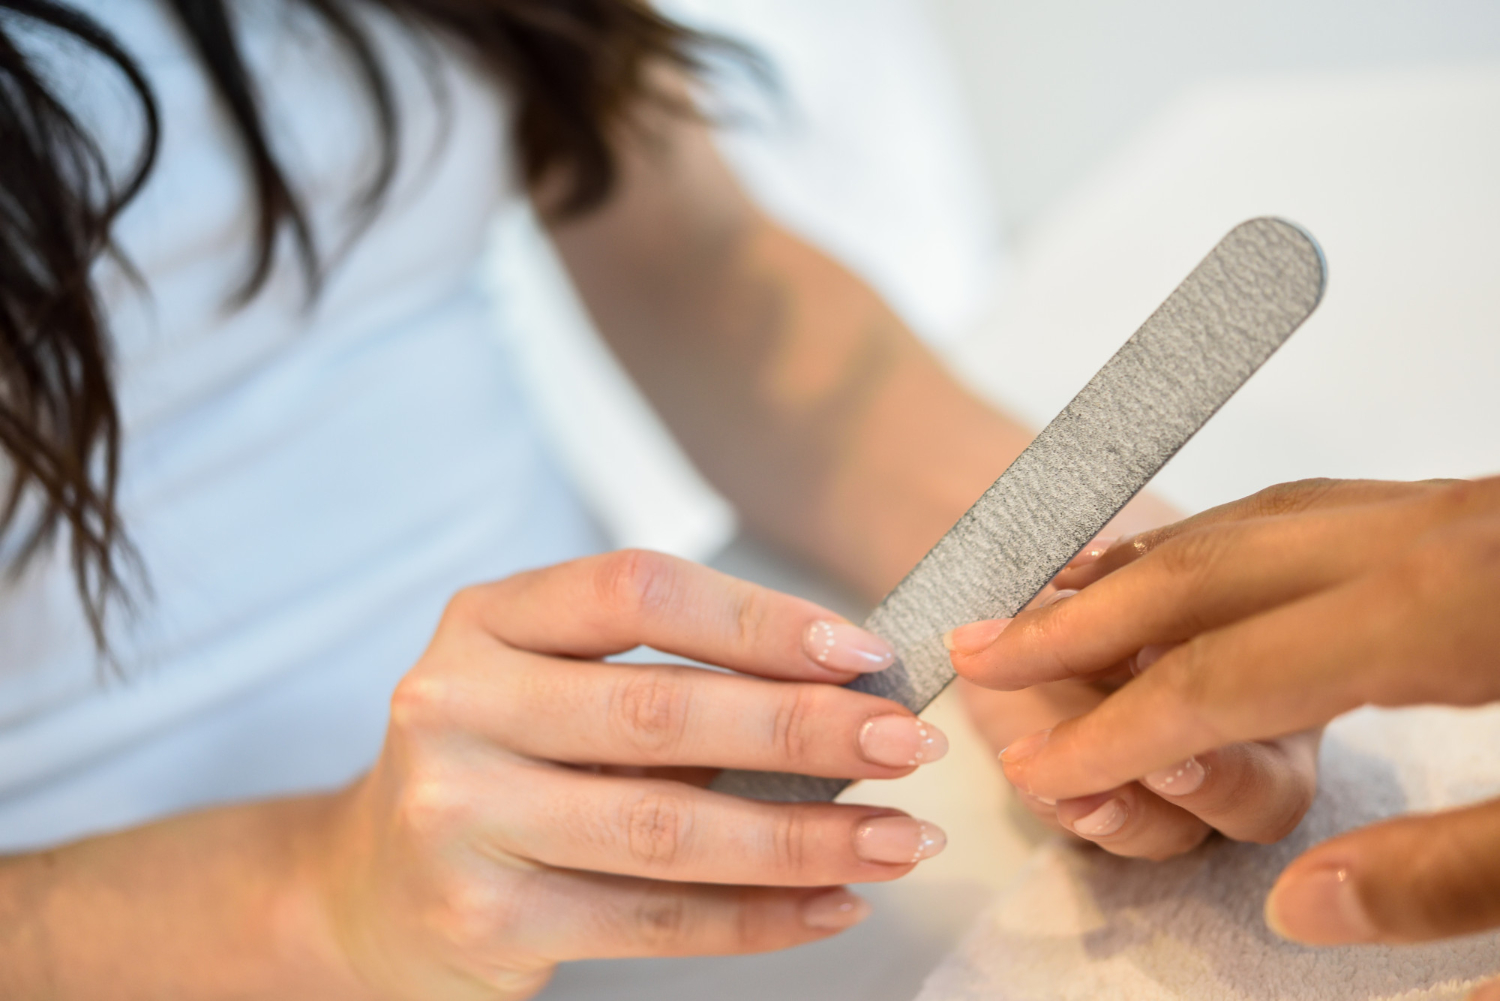
Start by trimming your acrylic nails shorter with nail clippers. This makes them easier to soak and reduces the amount of acrylic that needs to be dissolved. File the surface lightly to remove the shiny topcoat, which allows removal products like acetone to penetrate more effectively.
For tools, you’ll need acetone (preferably 100% pure acetone), cotton balls or pads, aluminum foil, a nail buffer, a cuticle pusher, and nourishing cuticle oil or moisturizer for aftercare. Having everything ready before you start ensures the process flows smoothly.
Equally important is your environment. Choose a well-ventilated area, since acetone can have a strong smell. Lay down a towel to protect your surfaces from spills. These small steps make the process cleaner, safer, and much more comfortable.
Step-by-Step Methods for Removing Acrylic Nails
The most common and effective way to remove acrylic nails at home is the acetone soak method. Done carefully, it softens the acrylic until it can be gently pushed off without damaging your natural nail.
To begin, soak a cotton ball in acetone and place it directly on your nail. Wrap each fingertip in aluminum foil to hold the cotton in place and keep the acetone from evaporating too quickly. Let your nails sit for about 20 to 30 minutes, checking occasionally.
When you remove the foil, the acrylic should look soft and slightly lifted. Use a cuticle pusher to gently nudge away the softened acrylic. If any remains stubborn, rewrap and soak a little longer rather than forcing it off.
Another variation is the bowl soak method. Simply pour acetone into a bowl, place your fingertips in it, and let the acrylic dissolve. While this works, it can be messier and exposes your skin to more acetone, so the foil method is usually preferred.
Whichever method you choose, patience is essential. Rushing the process by scraping or pulling risks long-term damage. Allowing the acetone to do the work protects the natural nail underneath.
Tips for Protecting Your Natural Nails During Removal
The biggest mistake people make is using force. Acrylic nails are strong, but your natural nails are delicate. Protecting them requires a gentle approach.
Never peel or rip the acrylic layer away. Instead, always let it loosen naturally with acetone. If you feel resistance, it simply means more soaking time is needed. Using a buffer to smooth any leftover residue is safer than scraping.
To reduce dryness, apply petroleum jelly around your cuticles before soaking. This creates a barrier between your skin and the acetone, minimizing irritation. Once the acrylic is off, wash your hands with mild soap to remove any chemical residue.
Being mindful during each step not only keeps your nails intact but also shortens the recovery time afterward.
Aftercare: Restoring Nail Health Post-Removal
Once the acrylics are gone, your natural nails may feel thinner or weaker than usual. This is normal, as they’ve been under layers of product for weeks. The key is to restore their strength through consistent aftercare.
Moisturizing is the first step. Apply cuticle oil daily to hydrate the nail bed and surrounding skin. Follow with a nourishing hand cream to lock in moisture.
If your nails feel especially weak, consider using a strengthening treatment or nail hardener. These products add a protective layer that reduces splitting and peeling.
Allowing your nails time to breathe between acrylic sets is also important. A few weeks of natural growth gives them the chance to rebuild thickness and resilience.
Diet plays a role too. Eating foods rich in biotin, protein, and omega-3s can support healthy nail growth from the inside out. Combined with external care, these habits will bring your nails back to life more quickly.
When It’s Best to See a Professional
While at-home removal is safe when done correctly, there are situations where a salon visit is the better choice. If your acrylics are lifting unevenly, cracked, or causing pain, a professional can remove them with specialized tools that minimize risk.
Those with very thin, brittle, or damaged natural nails should also consider professional help. Technicians have experience in handling fragile nails and can apply strengthening treatments during removal.
In some cases, professional removal may simply be more convenient. Salons are equipped to handle the process quickly, saving you time and effort. Knowing when to leave it to the experts is part of keeping your nails healthy.
Conclusion
Learning how to remove acrylic nails safely is about more than just taking off a manicure—it’s about protecting the health of your natural nails. With the right tools, a patient step-by-step method, and mindful aftercare, you can remove acrylics at home without damage.
Remember that forcing or rushing the process can leave your nails weak and painful, while proper soaking and gentle handling preserve their strength. Once the acrylics are gone, giving your nails hydration and time to recover ensures they stay beautiful and resilient.
If at any point the process feels uncomfortable or your nails are especially fragile, seeking professional help is the wisest choice. Safe removal is always possible, but it requires care, patience, and a little extra attention to nail health.
My name is Mustafa, and I have been blogging for over 5 years. I am passionate about sharing complete, accurate, and helpful information with my readers. Along with managing content on The Matcha Read, I also contribute blog posts to premium websites. My goal is to provide valuable insights in a clear and easy-to-understand way, so every reader walks away with useful knowledge.