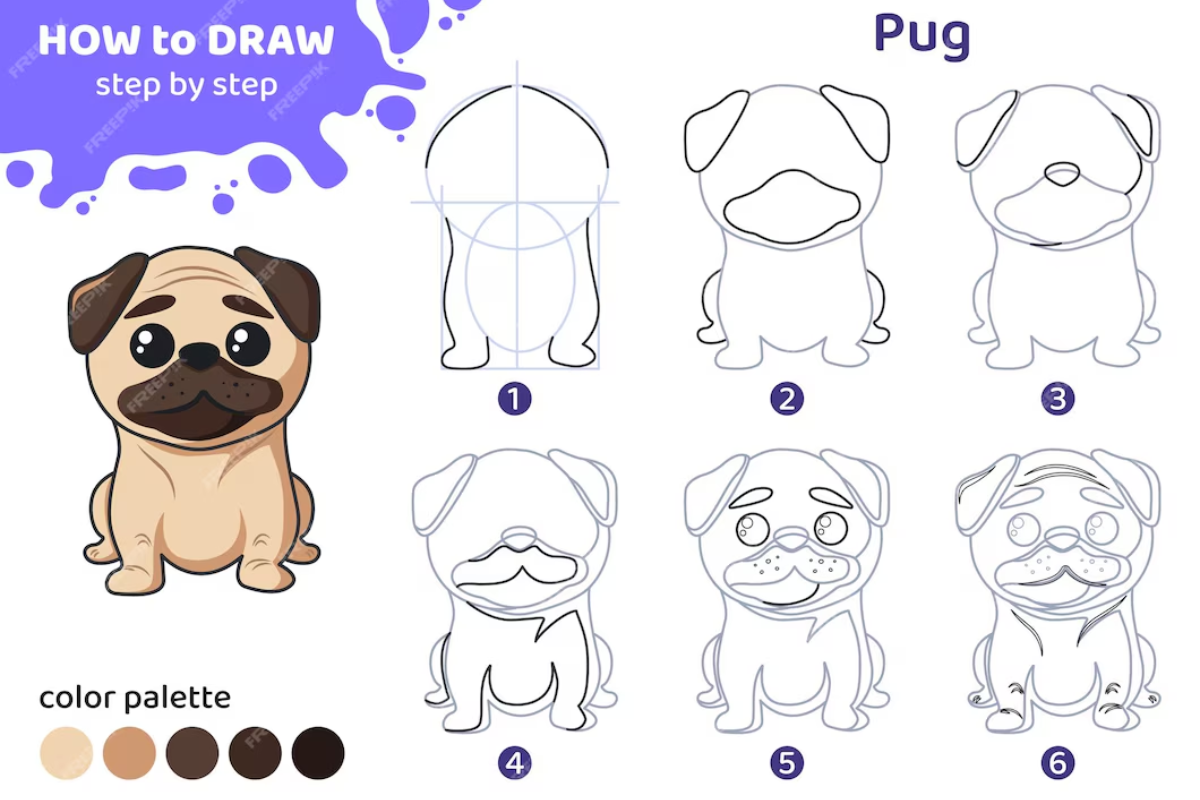
Learning how to draw a dog can be a fun and rewarding experience, even if you’ve never picked up a pencil to sketch before. Whether you want to draw a cartoon puppy or a realistic dog portrait, this guide will walk you through each step. With some patience and observation, you’ll build the confidence to create your own dog drawings—no art degree required. From understanding dog anatomy to capturing expression, this guide is here to help.
Understanding Dog Anatomy for Drawing
Before you start drawing, it’s important to understand a dog’s basic structure. You don’t need to memorize every bone or muscle, but recognizing the general proportions will help your drawings look more natural. Dogs come in all shapes and sizes, but their core body structure tends to follow a consistent pattern.
When you’re learning how to draw a dog, paying attention to proportions makes a big difference. For example, most dogs have a head-to-body ratio that stays consistent across breeds. A large dog might have a bigger frame, but the relationship between its legs, spine, and head remains similar to that of a smaller dog. Paying attention to leg placement, shoulder height, and the curve of the back makes your sketch look more lifelike.
If you’re unsure where to start, observe real dogs. If you have a pet, study how they sit, stand, or walk. If not, look at reference photos or watch videos. Reference images are especially helpful for understanding different dog positions, coat types, and features like floppy ears or curled tails. With regular practice and observation, you’ll begin to see the patterns that make a dog look like a dog.
Choosing the Right Drawing Tools
You don’t need expensive supplies to learn how to draw a dog. All you really need is a pencil and paper. A standard HB pencil works well for sketching basic outlines, while softer pencils like 2B or 4B are great for adding shading and depth.
Erasers are just as important. A kneaded eraser can lift graphite gently, which helps if you want to make changes without leaving smudges. Choose paper that has a little texture so your pencil lines hold well. Basic sketchpads or even printer paper will do for early practice.
If you’re interested in digital drawing, a tablet and stylus are great tools. Many free or affordable drawing apps mimic real pencil strokes. Digital tools also allow for easier adjustments and layering—ideal for beginners who want to experiment.
The goal is to make the process comfortable. The right tools don’t need to be fancy—they just need to work well for you.
Step-by-Step Guide to Drawing a Basic Dog
Start with Simple Shapes
Begin by breaking the dog’s body down into basic shapes. A circle for the head, an oval for the body, and lines for the legs and tail can help you form a clear structure. This is the planning stage. Keep your lines light and loose so they’re easy to adjust later.
Sketch the Body and Legs
Once the shapes are in place, start refining the outline of the body. Dogs usually have a rounded chest, a narrower waist, and four limbs with defined joints. Pay attention to where the legs bend—this is especially important if your dog is sitting or walking.
Use smooth lines to connect your shapes and give the body a more natural flow. Make sure the legs are proportionate to the body. Take your time adjusting angles and curves until they feel right.
Add the Head, Ears, and Tail
Now turn your attention to the head. Use your original circle as a guide, and begin shaping the snout. Depending on the breed, the snout might be long and pointed or short and rounded. Don’t forget to place the ears. They’re a key feature and can be upright, floppy, or anything in between.
The tail should match the dog’s posture. A relaxed dog might have a low-hanging tail, while an excited one might have it curved upward. Observe reference photos to capture the tail’s natural movement.
Refine Details and Clean Lines
Once the full outline is complete, go over your sketch with a darker pencil or pen. This is the time to clean up rough lines, add fur texture, or highlight small features like paws, claws, or whiskers. Use shading to give your drawing depth and form.
You don’t need to draw every hair. Just a few light strokes in the right places can suggest texture. If you’re drawing a short-haired dog, use smooth shading; for long-haired dogs, sketch in a few flowing lines to show the direction of the fur.
Adding Expression and Personality
The magic of how to draw a dog lies in capturing its personality. A simple sketch becomes more alive when the face has expression, and the body shows attitude or mood.
Start with the eyes—they’re the focal point of emotion. Keep them symmetrical and place them evenly on the head. The size and shape of the eyes can make a dog look playful, sleepy, or curious. Adding a small circle of white (a catchlight) makes them appear bright and realistic.
Noses are usually rounded triangles or ovals, often shaded in black. Draw the mouth gently curved up for a friendly look or relaxed for a neutral pose. Pay attention to the eyebrows—though not always visible, slight lines above the eyes can add to a dog’s expression.
A dog’s body posture communicates mood. A crouched pose may suggest playfulness, while a raised tail and alert ears can show excitement. Even small changes in the angle of the head or arch of the back can tell a story.
Practice sketching different poses to explore how posture affects the mood of your drawing. The more you try, the better you’ll get at expressing a dog’s personality through lines and angles.
Practicing with Different Dog Breeds
As you become more confident with drawing dogs, start experimenting with different breeds. Each breed has its own distinct features, and drawing them helps build your skills.
Tips for Sketching Small vs. Large Dogs
Smaller dogs, like Chihuahuas or Dachshunds, often have compact bodies, short legs, and large eyes. Larger dogs like Labradors or German Shepherds have longer limbs and stronger builds. Adjust your shapes and proportions based on the breed you’re drawing.
Don’t just scale the drawing up or down. Notice how their posture and structure differ too. A Great Dane’s chest and neck will be different from a pug’s, and those small details matter in your final sketch.
Noticing Differences in Ears, Snouts, and Tails
Ears are one of the most distinguishing features. Some dogs have tall, pointed ears; others have long, droopy ones. Pay close attention to how the ears connect to the head.
Snouts vary in length and width. A greyhound’s nose looks very different from that of a bulldog. Tails can be bushy, curled, or whip-like. These small traits help your drawing feel accurate and full of character.
Conclusion
Learning how to draw a dog is a journey that gets easier and more enjoyable the more you practice. Start with simple shapes, pay attention to anatomy, and keep observing real dogs or images for inspiration. Each sketch helps you improve, even if it doesn’t look perfect. The more you draw, the better you’ll get at capturing expression, motion, and personality. Keep practicing, and have fun with it!
FAQs
1. What’s the easiest way to draw a dog for kids or beginners?
Start with basic shapes like circles and ovals to outline the body. Then connect the shapes with smooth lines to form the full dog. Keep it simple and have fun.
2. How can I make my dog drawings look more realistic?
Use reference photos, focus on proportions, and add small details like fur texture and shading. Paying attention to light and shadow can also help.
3. What are the most common mistakes when drawing dogs?
Proportions that are off, legs that bend unnaturally, or facial features placed incorrectly are common issues. Take your time and use guidelines while sketching.
4. Can I draw a dog without using reference images?
Yes, but using reference images can greatly improve accuracy, especially for different poses or breeds. Over time, you may be able to draw confidently from memory.
My name is Mustafa, and I have been blogging for over 5 years. I am passionate about sharing complete, accurate, and helpful information with my readers. Along with managing content on The Matcha Read, I also contribute blog posts to premium websites. My goal is to provide valuable insights in a clear and easy-to-understand way, so every reader walks away with useful knowledge.